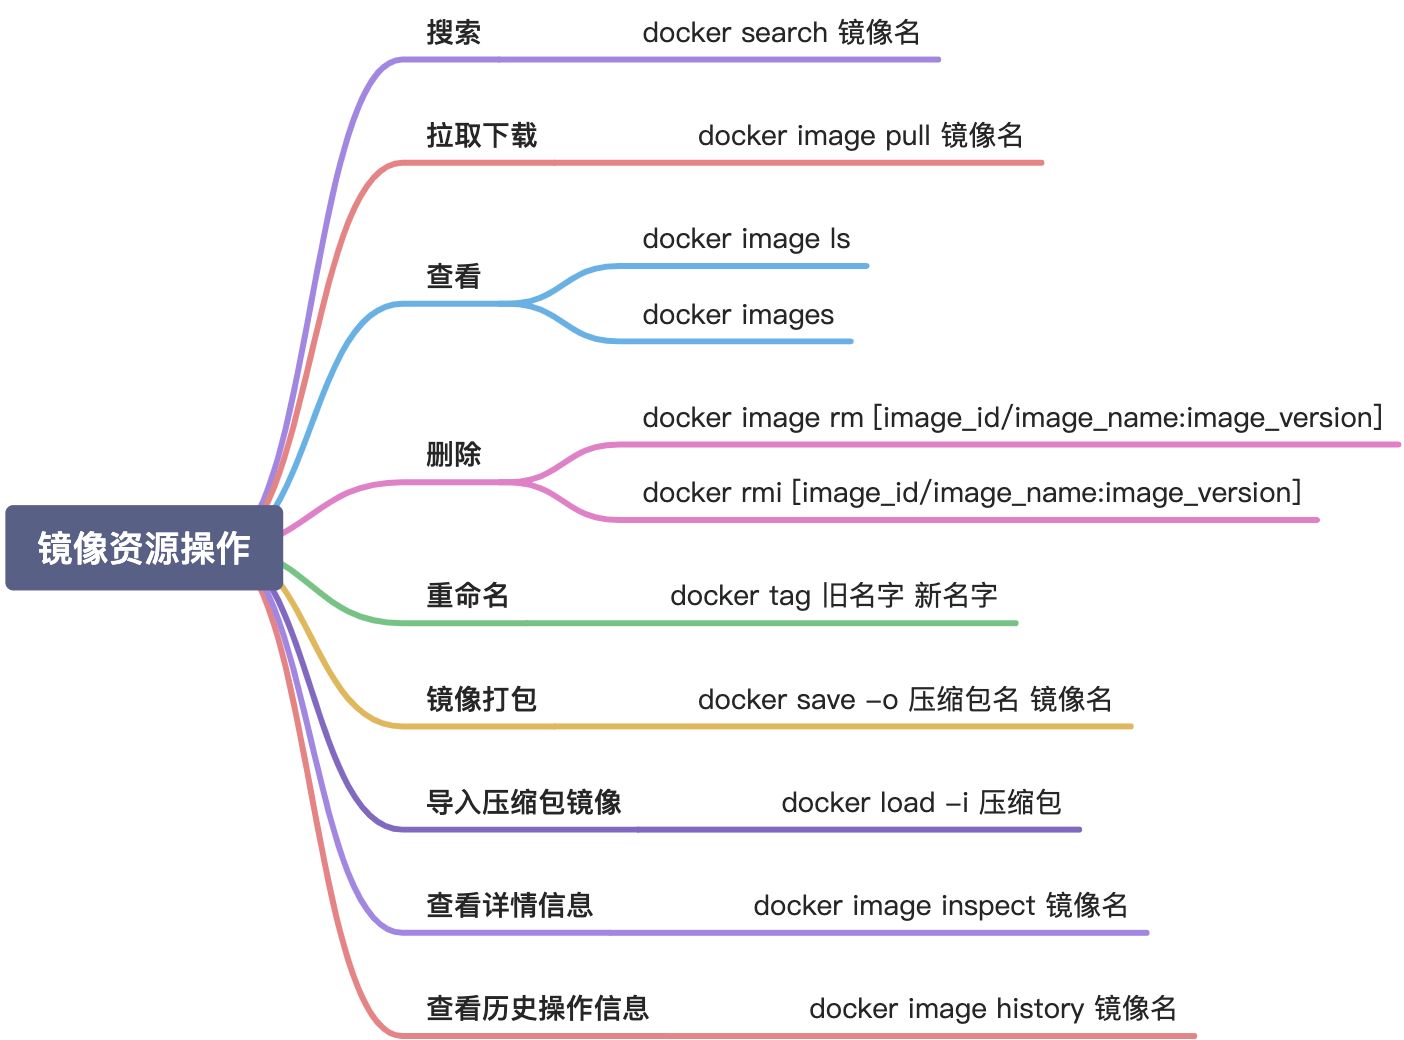
搜索镜像资源
1 | docker search nginx |

一般选择 STARS 数最大的
拉取镜像
比如拉取上提及的 nginx 镜像1
docker image pull nginx
命令执行后就开始对镜像进行拉取了
查看当前拥有的镜像
镜像ID: 镜像的唯一标识,如果镜像ID相同,则说明是同一个镜像
TAG: 用来区分不同的发行版本,如果不指定具体标记,则默认使用latest来标记信息
1 | docker image ls |

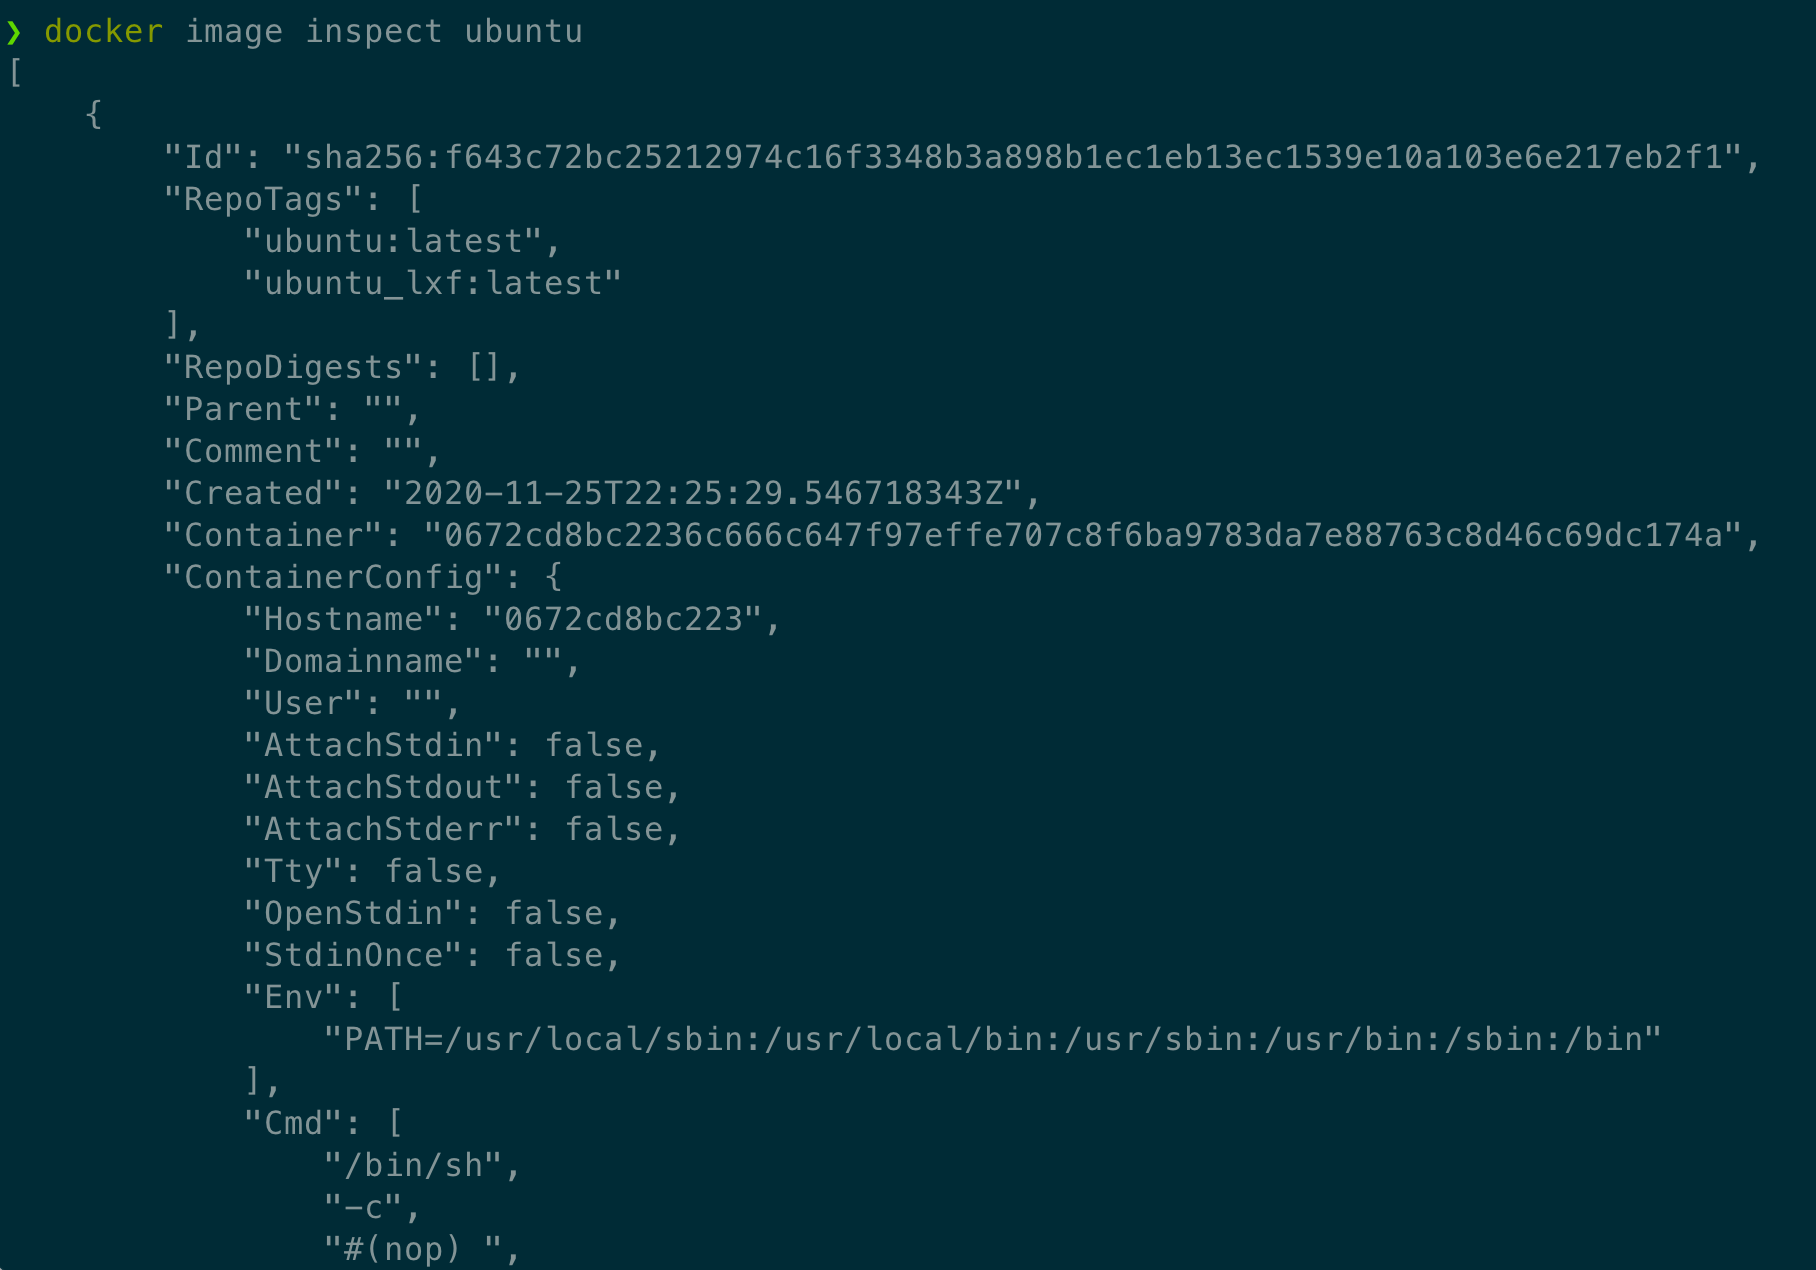
查看镜像的详情信息
1 | docker image inspect 镜像名 |
删除镜像
完整写法1
docker image rm ubuntu
简洁写法1
docker rmi ubuntu
除了可以根据镜像名来删除外,也可以使用镜像ID,如使用上述的 ubuntu 镜像ID1
docker rmi f643c72bc252
如果我们对同一个镜像打了多个 tag ,导致同一个镜像ID存在多个镜像名称,那此时可以使用 name:tag 的格式来删除镜像,如:1
2
3docker rmi ubuntu:latest
docker rmi ubuntu_lxf:v1.0
镜像标签
1 | docker tag 当前镜像名:镜像版本 新的镜像名:新的版本 |
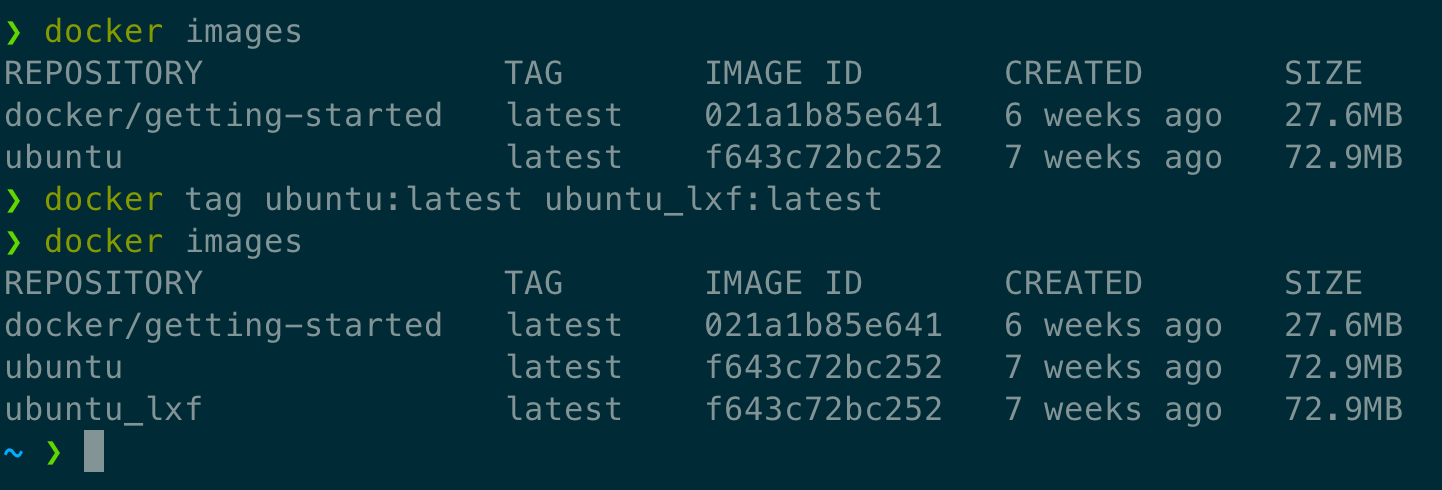
注:
ubuntu和ubuntu_lxf的IMAGE_ID是相同的- 结合删除镜像的命令就可以实现镜像重命名功能
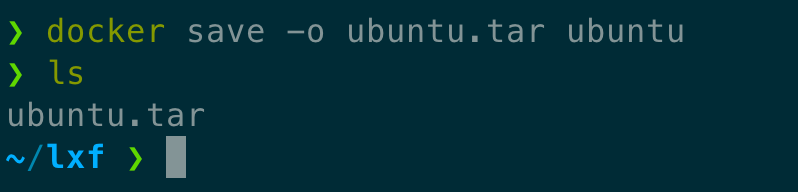
导出镜像
docker save 会保存镜像的所有历史记录和元数据信息
1 | docker save -o 包文件 镜像 |
导入镜像
先删除 ubuntu 镜像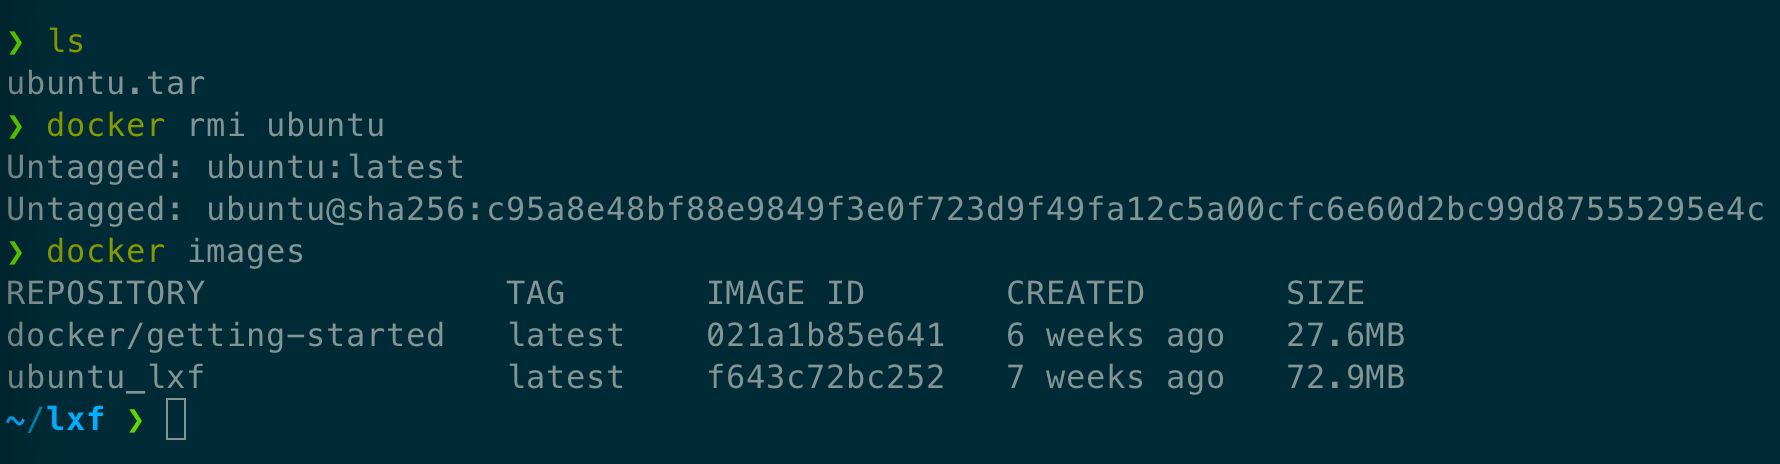
1 | docker load -i 镜像包名 |
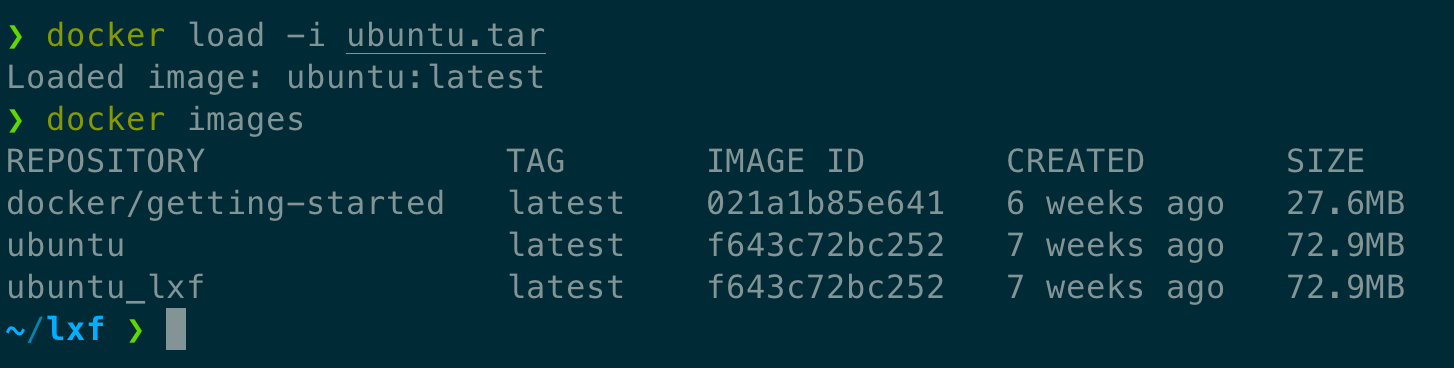
可以看到, ubuntu 镜像已经成功导入进来了
查看镜像历史
1 | docker image history 镜像名 |